Step-by-Step Instructions
What you will need
- A tightly woven cotton, such as a dress shirt, sheet, or similar material
- Rope elastic, beading cord elastic will work (you may also us 1/8” flat elastic)
- Cut the elastic 7” long and tie a knot at each end (DO NOT knot the ends of the flat)
What to do
You can make two sizes: Adult or Child
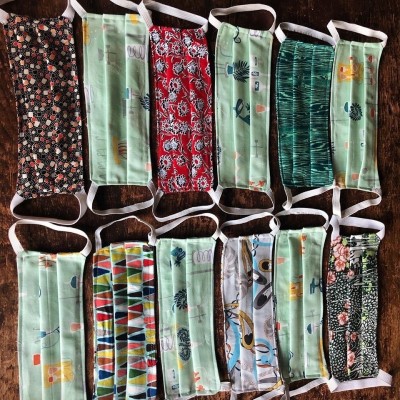
- Cut fabric 9.5" by 6.5" for an adult or 7.5" by 5" for a child. Be sure any fabric design is placed horizontally
- Put right sides of fabric together
- Starting at the center of the bottom edge, sew to the first corner and stop. Sew the elastic with the edge out into the corner. A few stitches forward and back will hold this.
- Sew to the next corner, stop, and bring the other end of the same elastic to the corner and sew a few stitches forward and back.
- Sew across that top of the mask to the next corner. Again, put an elastic with the edge out.
- Sew to the next corner and sew in the other end of the same elastic.
- Sew across the bottom leaving about 1.5” to 2” open. Stop, cut the thread. Turn inside out.
- Pin three tucks on each side of the mask. Make sure the tucks are the same direction
- Sew around the edge of the mask twice.
For No Sew options or instructional videos click here.
When masks are complete:
They items can be dropped off at
YMCA of Central Ohio
Mon-Tue between 11 am – 12 noon
40 W. Long Street
Columbus, OH 43215